What parts do you need to build an electric skateboard?
To build a electric skateboard, below is the items you will need:
- Deck
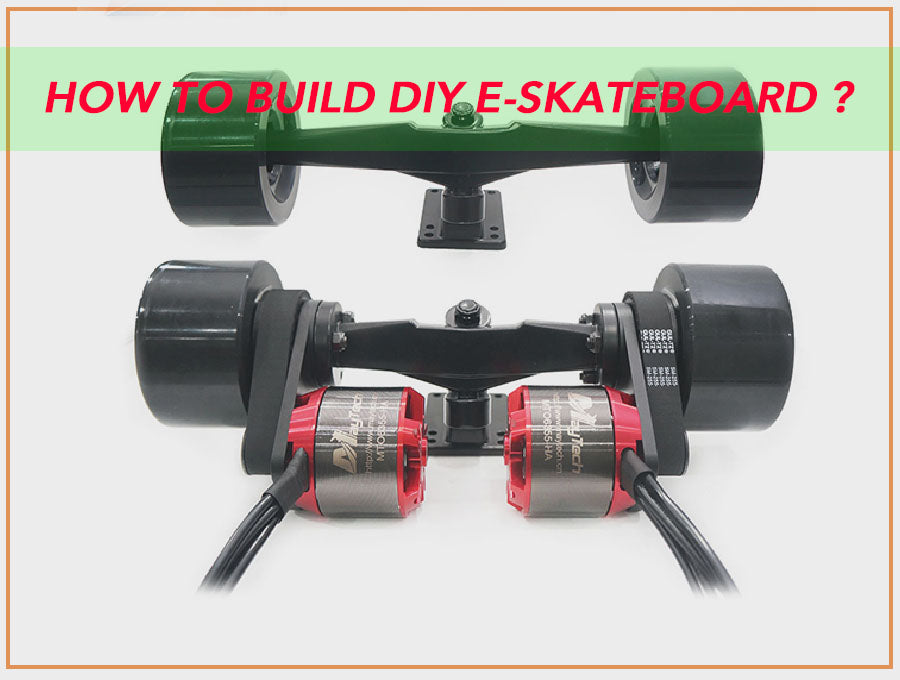
- Motors (Hub motor or belt-driven motor)
- Battery
- ESC (Electric Speed Controller) / VESCs
- Enclosure(s) for Battery and ESC
- Remote control
- Trucks
- Wheels
- Bearings
- Pulleys and Belts (no need if you use hub motor)
- Motor Mounting Plates
- Mounting Bolts
Build your Board:
Step 1: Mount the trucks and motor to your deck with appropriate spacing. recommend first prepping your motors by adding them to your rear truck, inserting them into the appropriate mounts and installing the motor drive pulley. Test both motors and make sure they spin freely with no unwanted drag from the drive pulley.
Add the wheel bearings securely and press them in, repeating for all wheels. Most motor sets come with an instruction/installation manual, so follow it closely. Hub motors are very straightforward to install, with belt drive motors proving more technical. Watch the belt drive installation process here.
Note: ensure that all components are securely screwed in to avoid failure or injury when riding.
Step 2: If necessary, drill holes in the case for cabling, switches, etc. We recommend starting off small, before gradually widening with larger drill bits. Going straight in with the biggest drillbit runs the risk of cracking plastic, which could compromise waterproofing and the overall protection of your components. Make sure to clamp your deck/case down before drilling to keep it in place.
Note: this task varies depending on deck size, battery placement and other factors.
Step 3: First, test the fit of both the battery and ESC within the enclosure. Install the battery and ESC into your case. Connect the charging port to the battery and power switch to the ESC, before finally connecting the battery and ESC.
Note: avoid connecting the battery until all other electronics are either test fitted or in place already.
Step 4: Feed the motor wires through the case and connect them to the ESC. Test everything with the controller beforehand. Once both the battery and ESC are secure, add the receiver for your remote control/transmitter. Most ESCs come with instructions, which we recommend following closely.
Test everything out by turning on the power switch. At this stage, the ESC should turn on and show a green light, meaning that everything is correctly connected. Those who opted for a virtual ESC must now program their controller using a VESC tool. We recommend watching this tutorial for all the fine details on programming a VESC.
Note: make sure your electrical components are off when testing to eliminate the risk of electrocution.
Step 5: Seal the case securely and enjoy your new eBoard. This is done through screws or adhesive, although we recommend both for maximum safety. Ensure there are no pinched wires or poorly secured components. If you bought a kit, please follow the kit instructions closely!
Note: ensure that there are no loose/rattling electrical components before sealing.